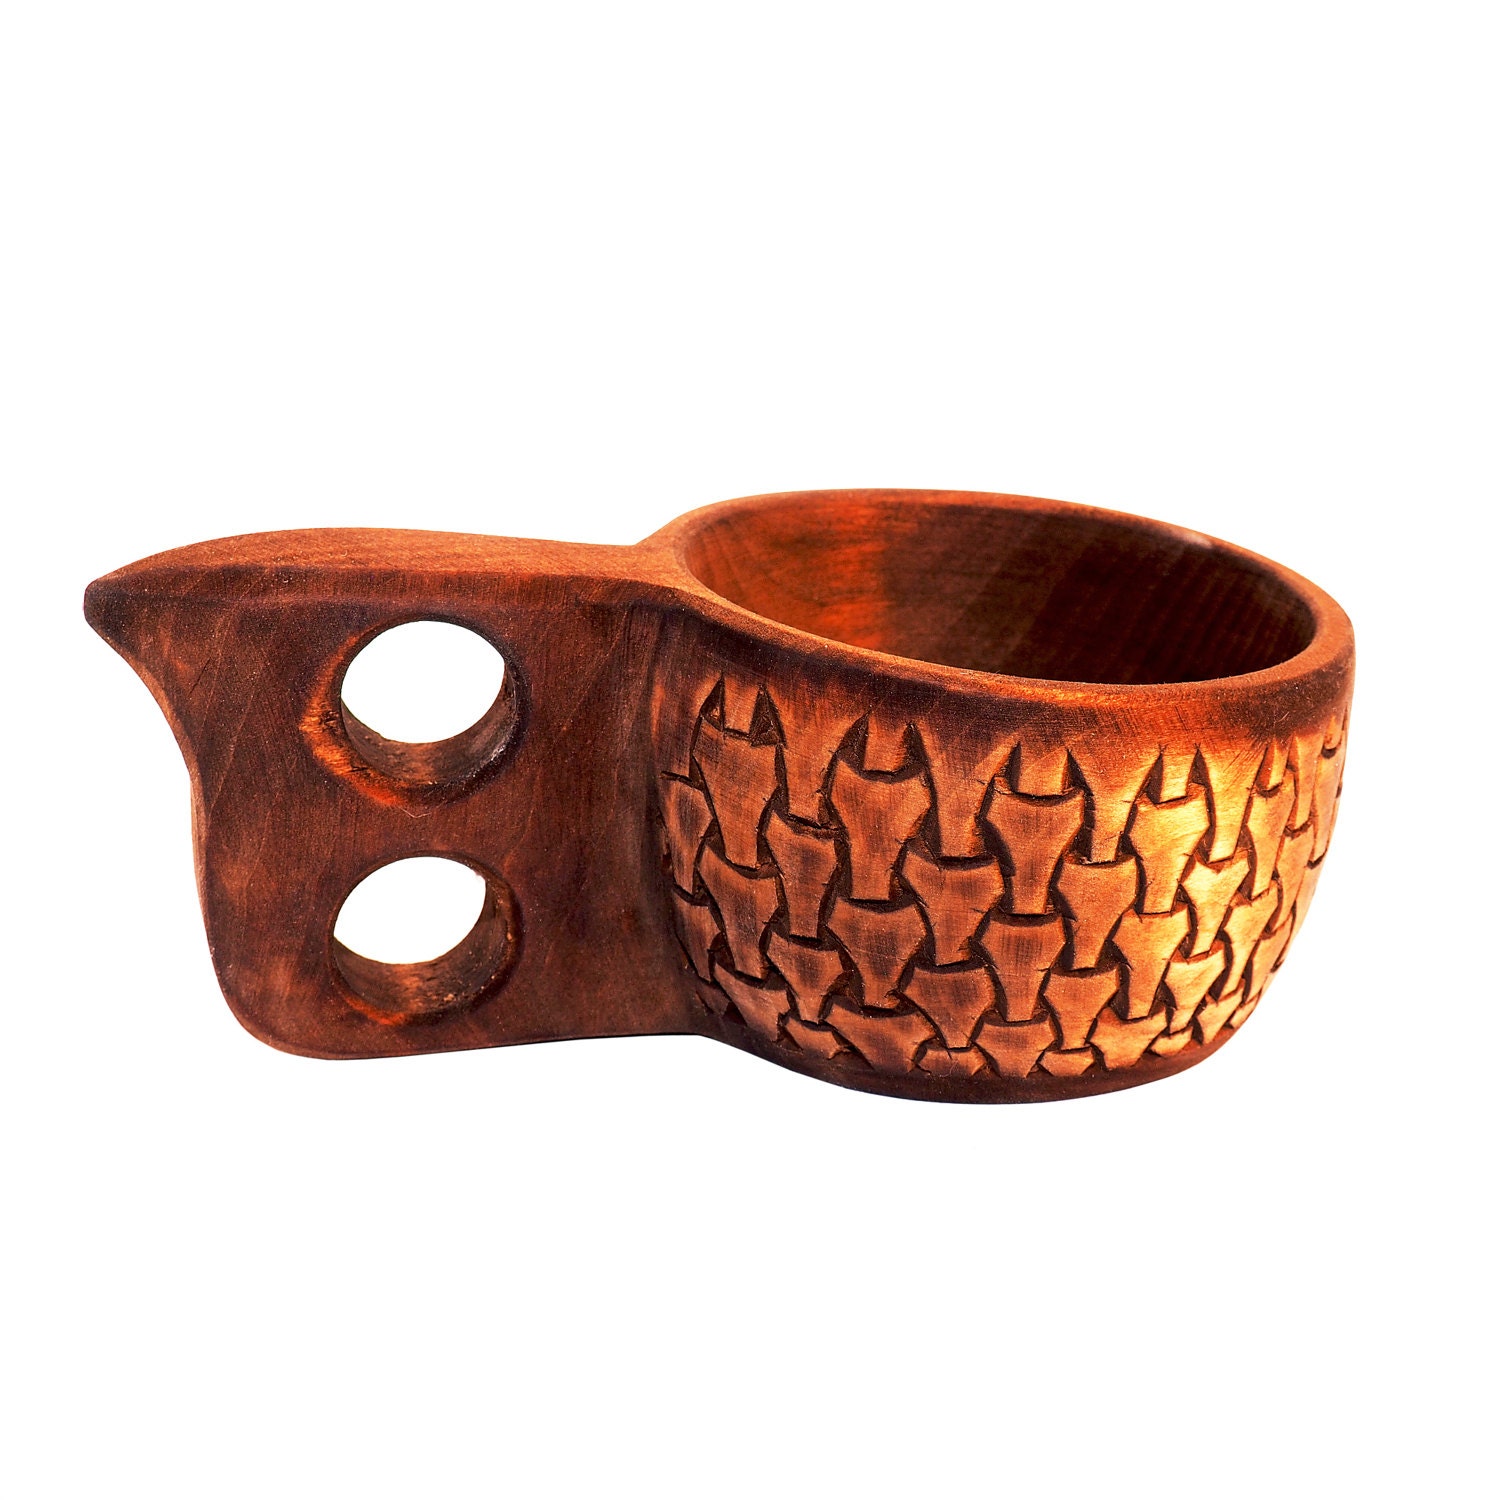
Ever wondered how we make our beautiful cups?
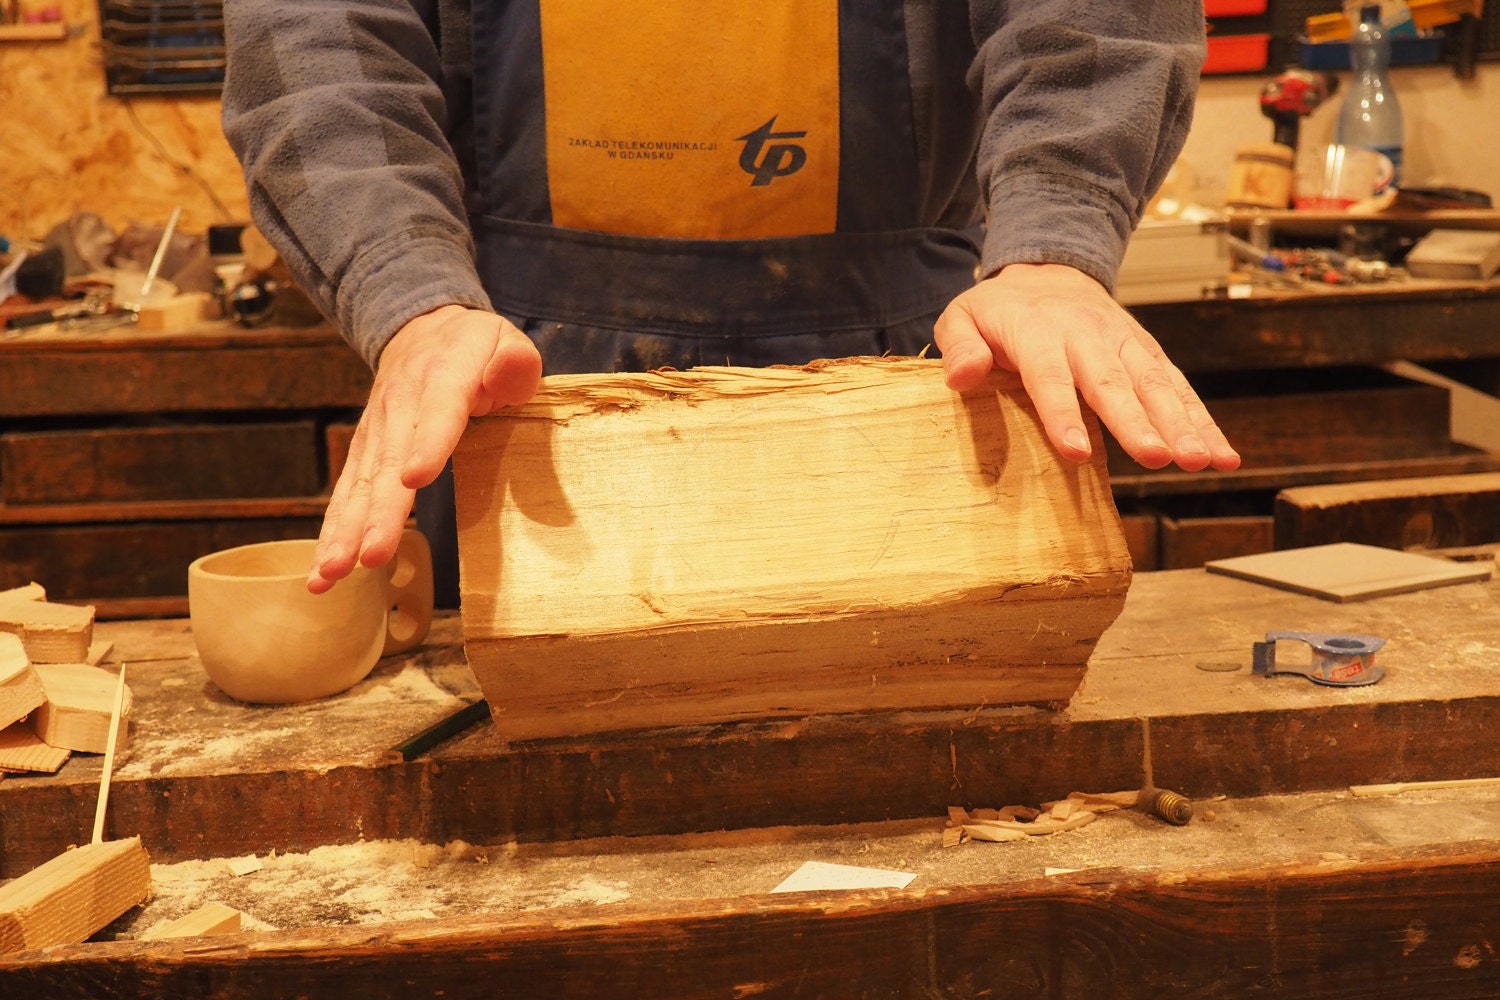
1. We pick a right-sized piece of wood.
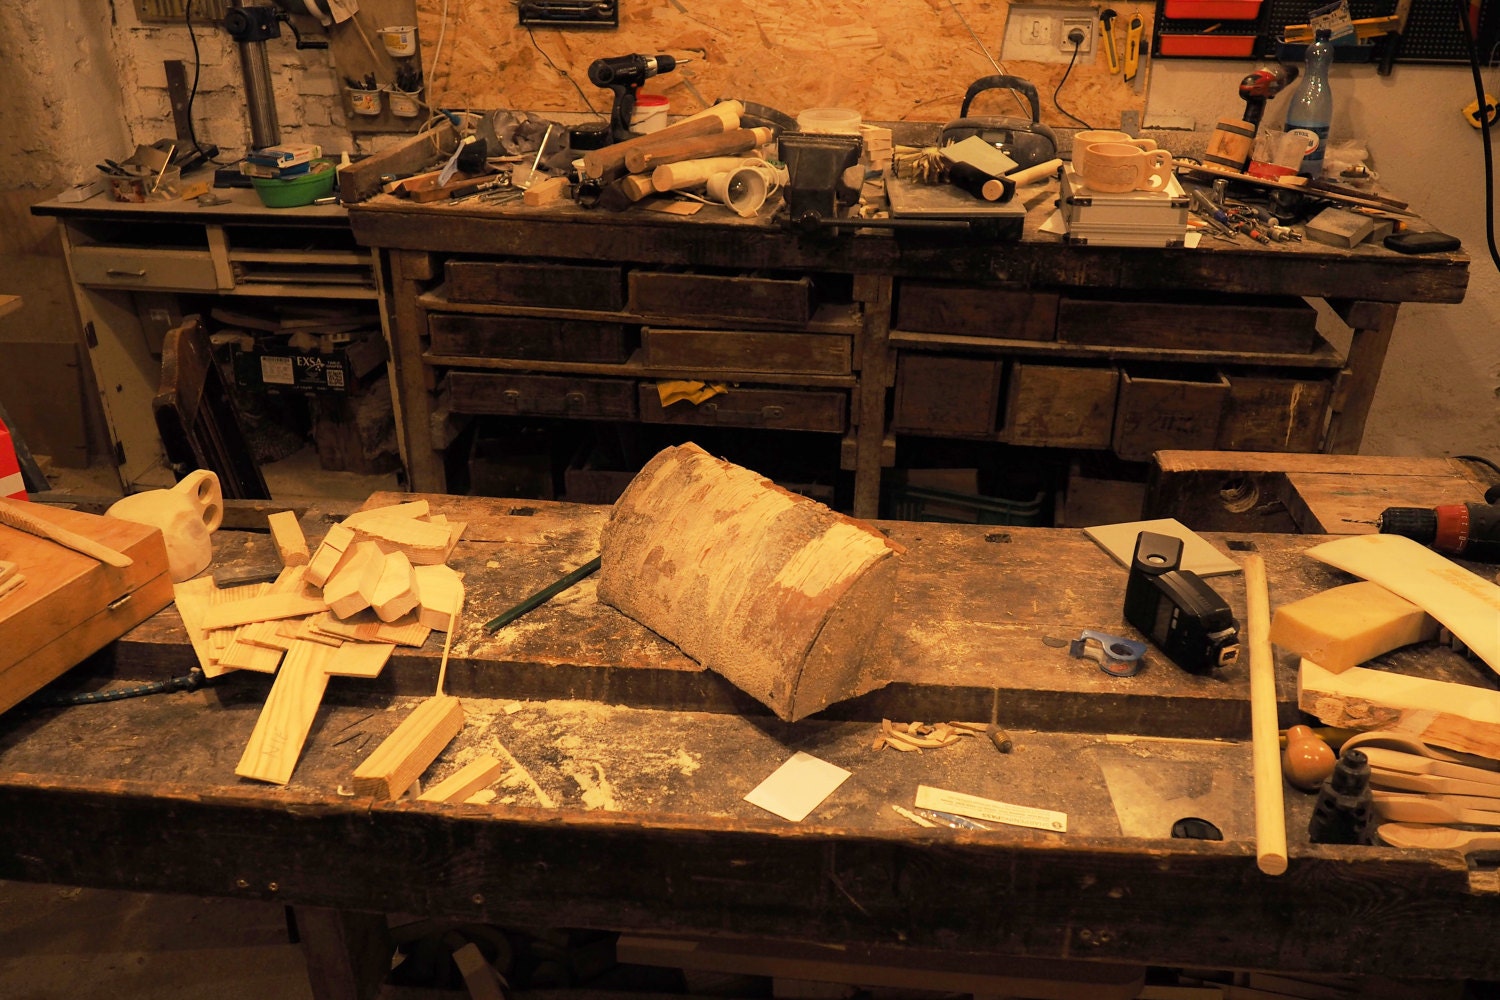
This will do nicely. Now we need to draw the shape of the cup so we know how much to trim. What do we use? An older cup is best.
2. We mark how much to trim.
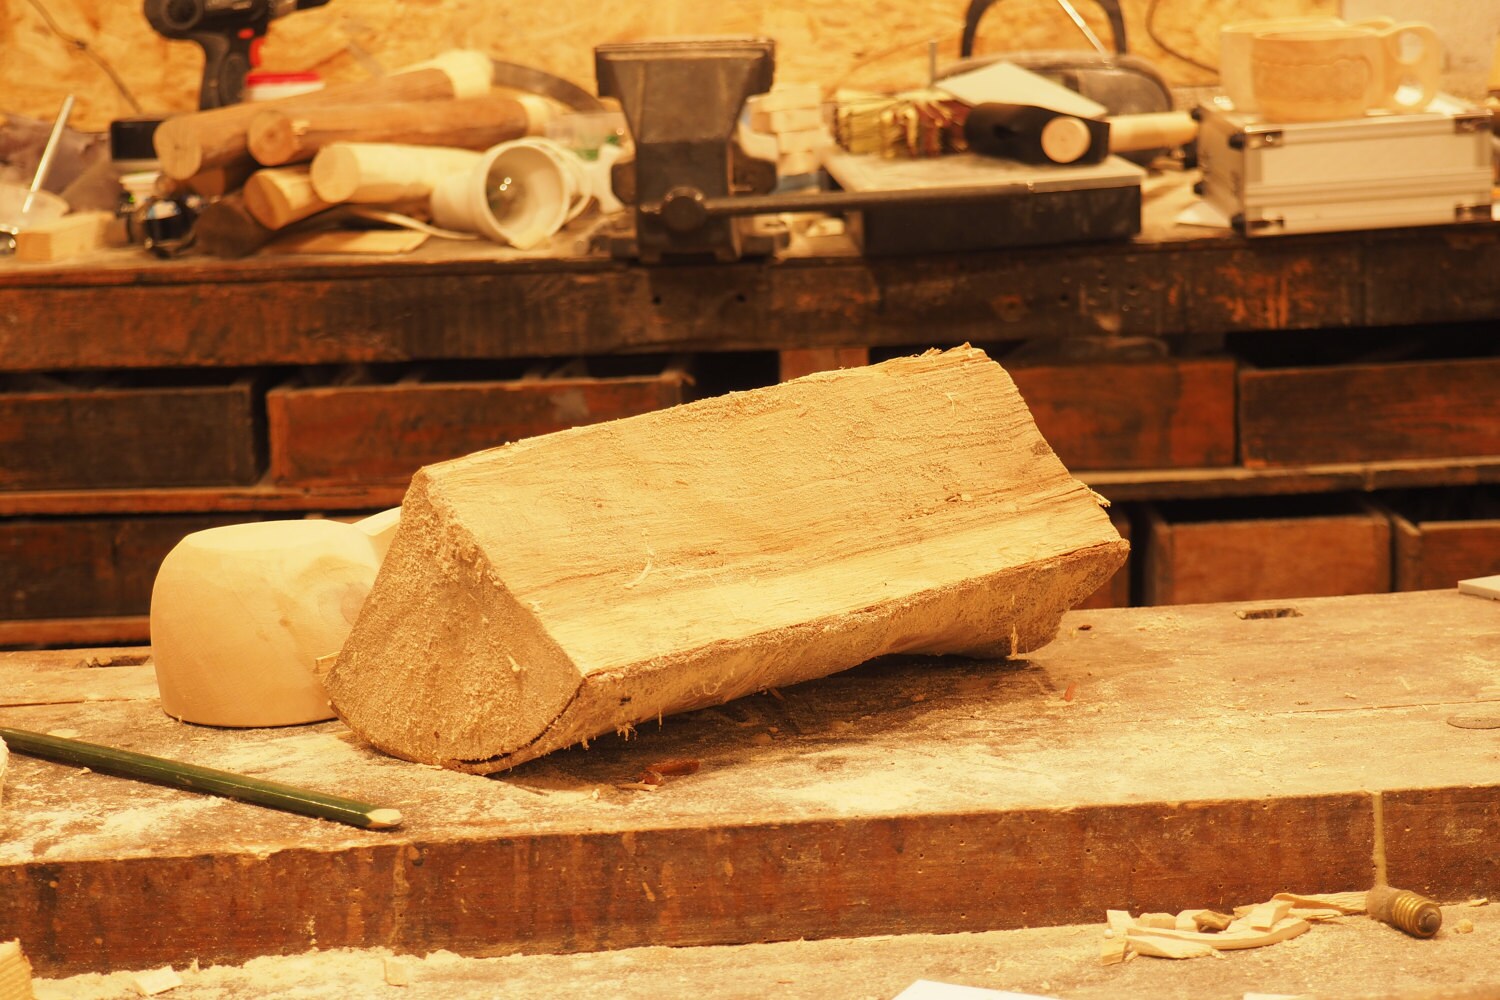
3. We trim off excess wood with a saw.
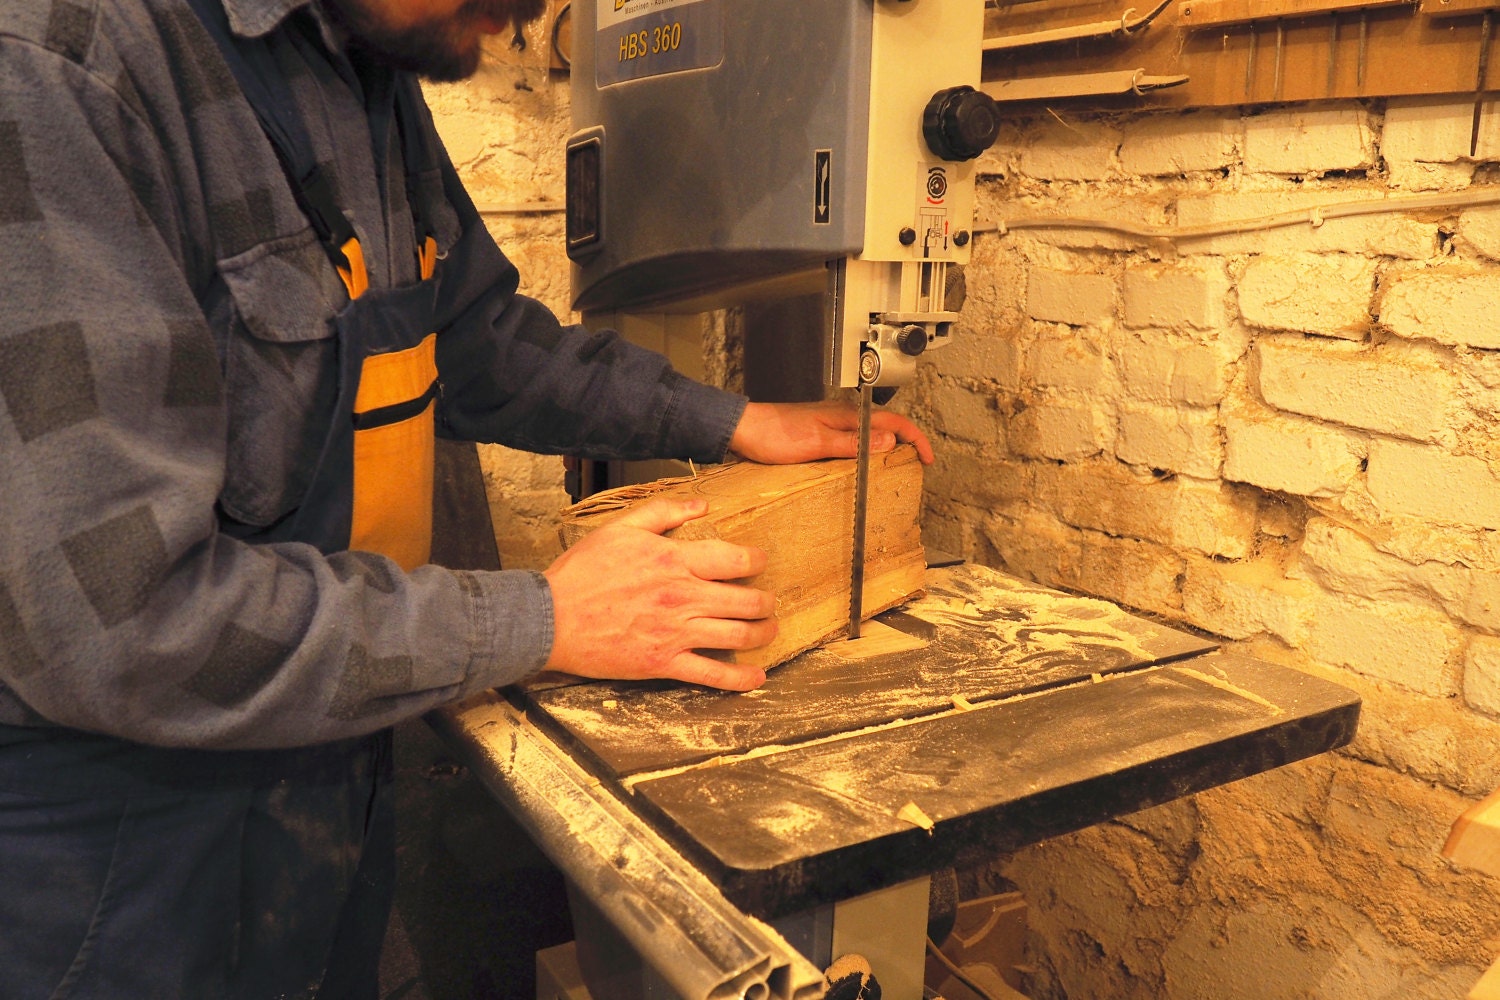
Careful! While using power tools you have to remain cautious... or you might lose a finger. Or two.
4. We fine-tune the design by hand.
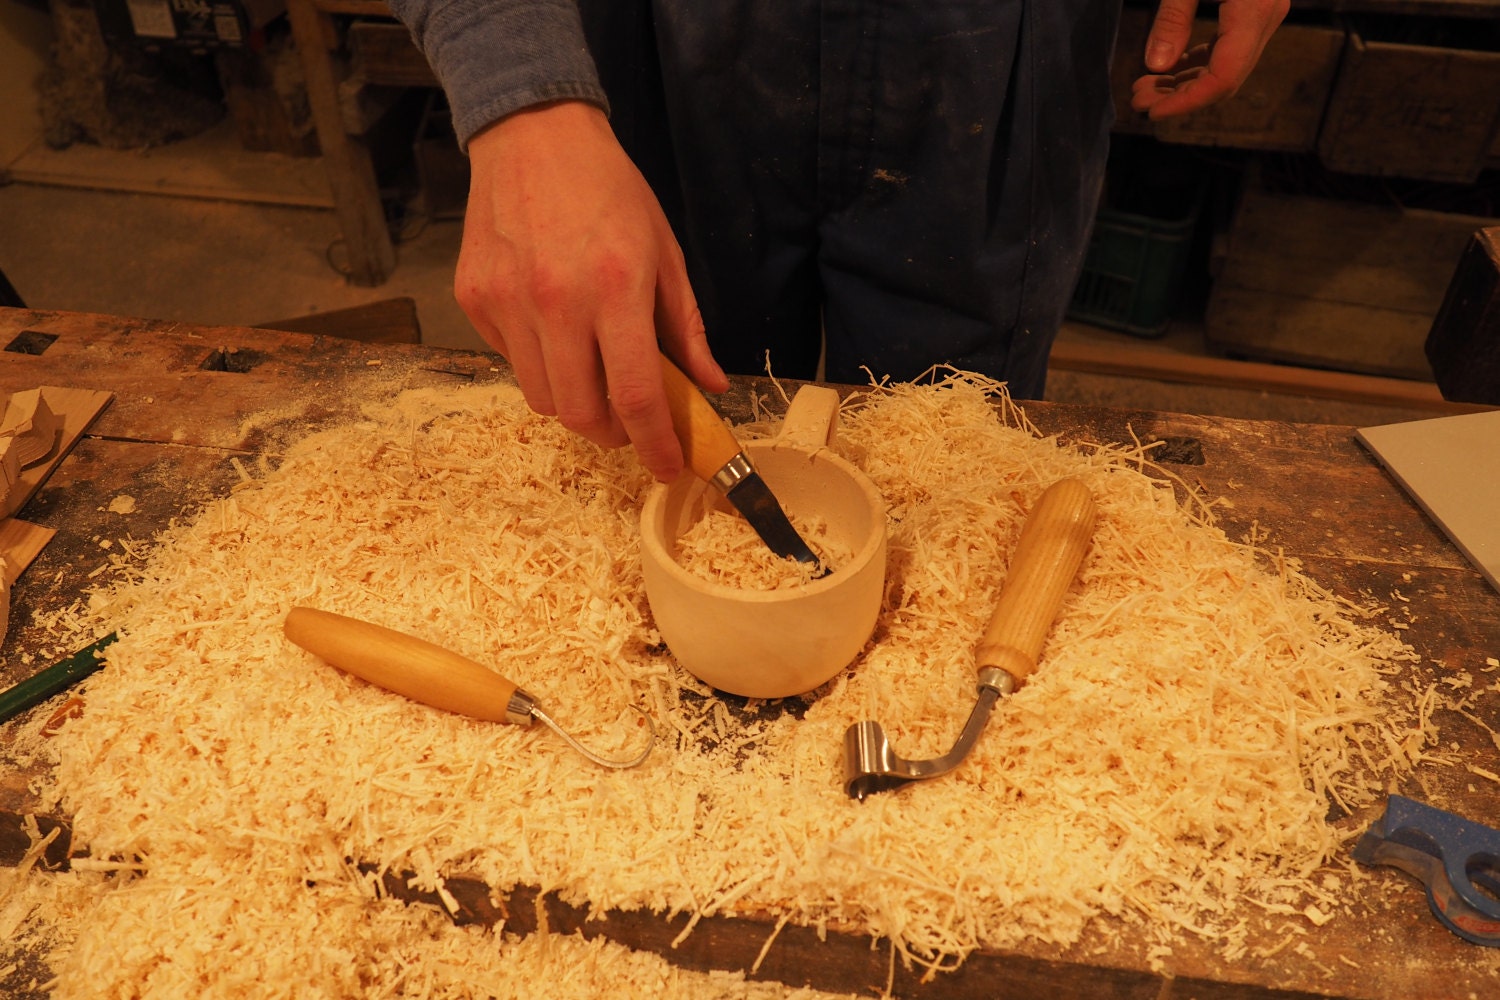
We use tools to achieve fluid, flowing shapes and a smooth surface. Because of the shape of the cup we can't just place it on the wheel and let it spin while we hold a carving tool. This process is very time consuming and tiring. But the effects are worth it.
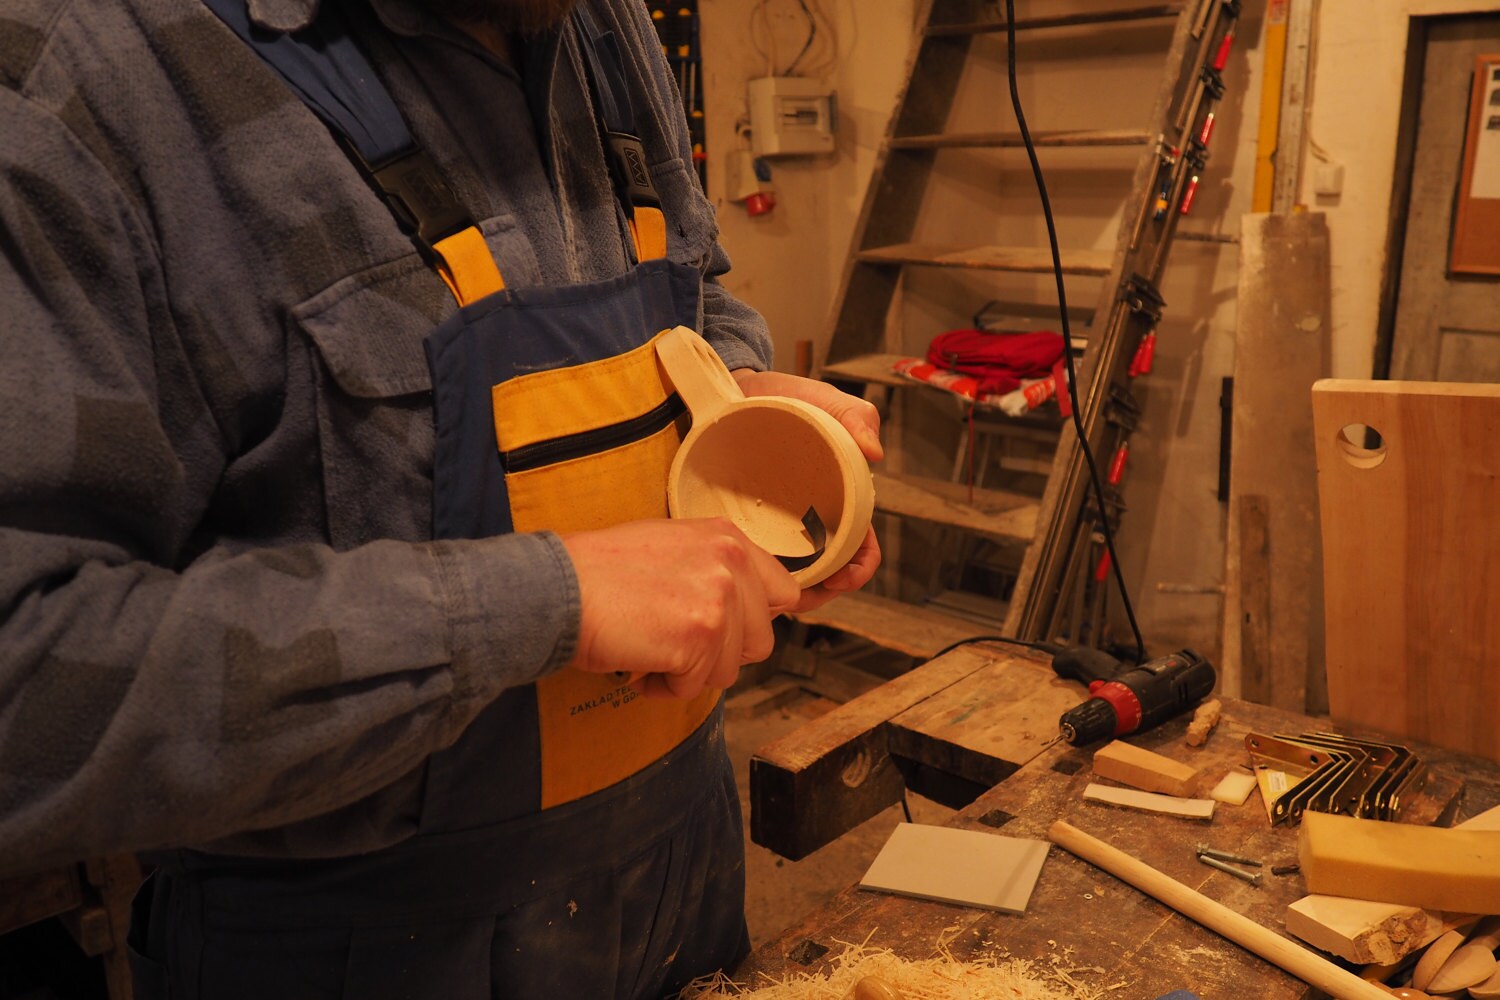
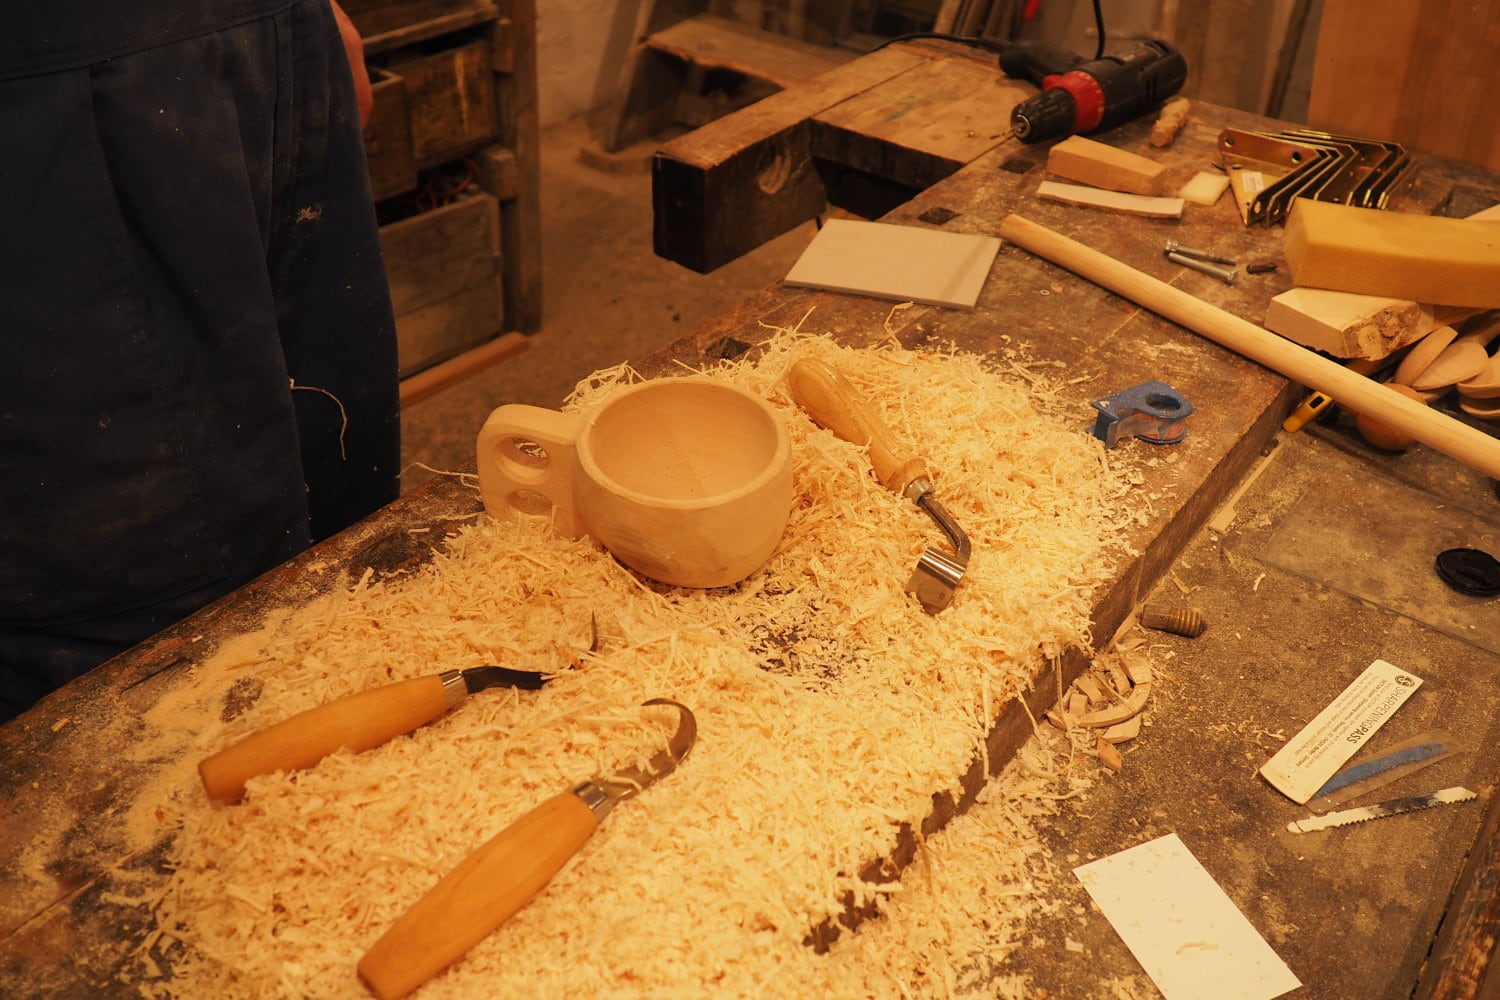
Close, but not there yet.
5. We draw the design by hand.
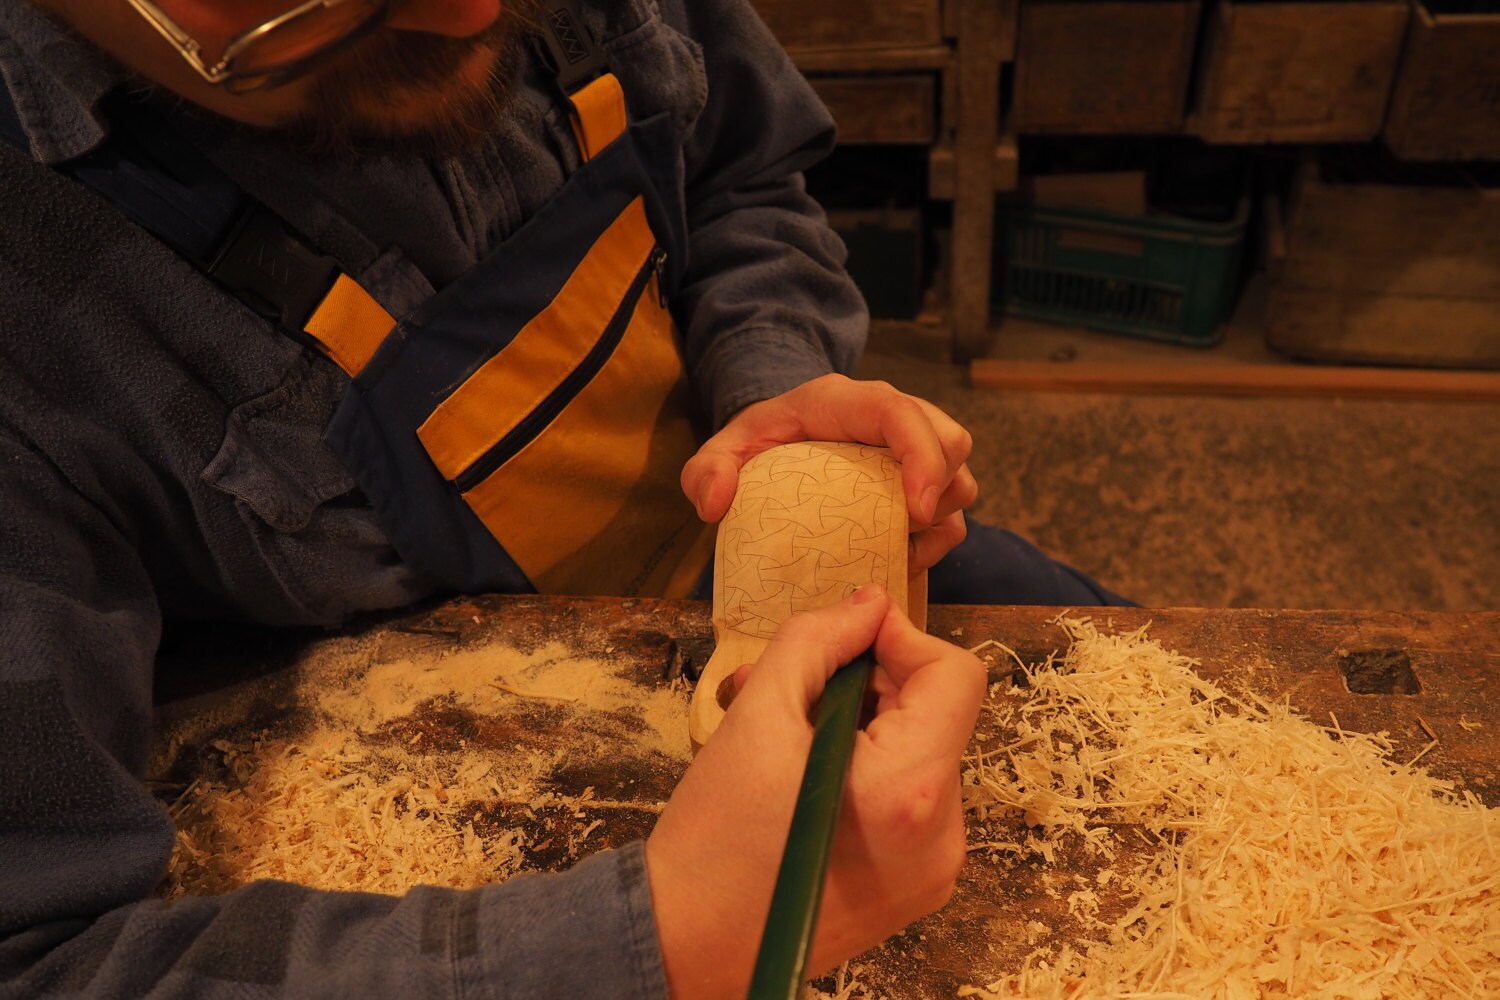
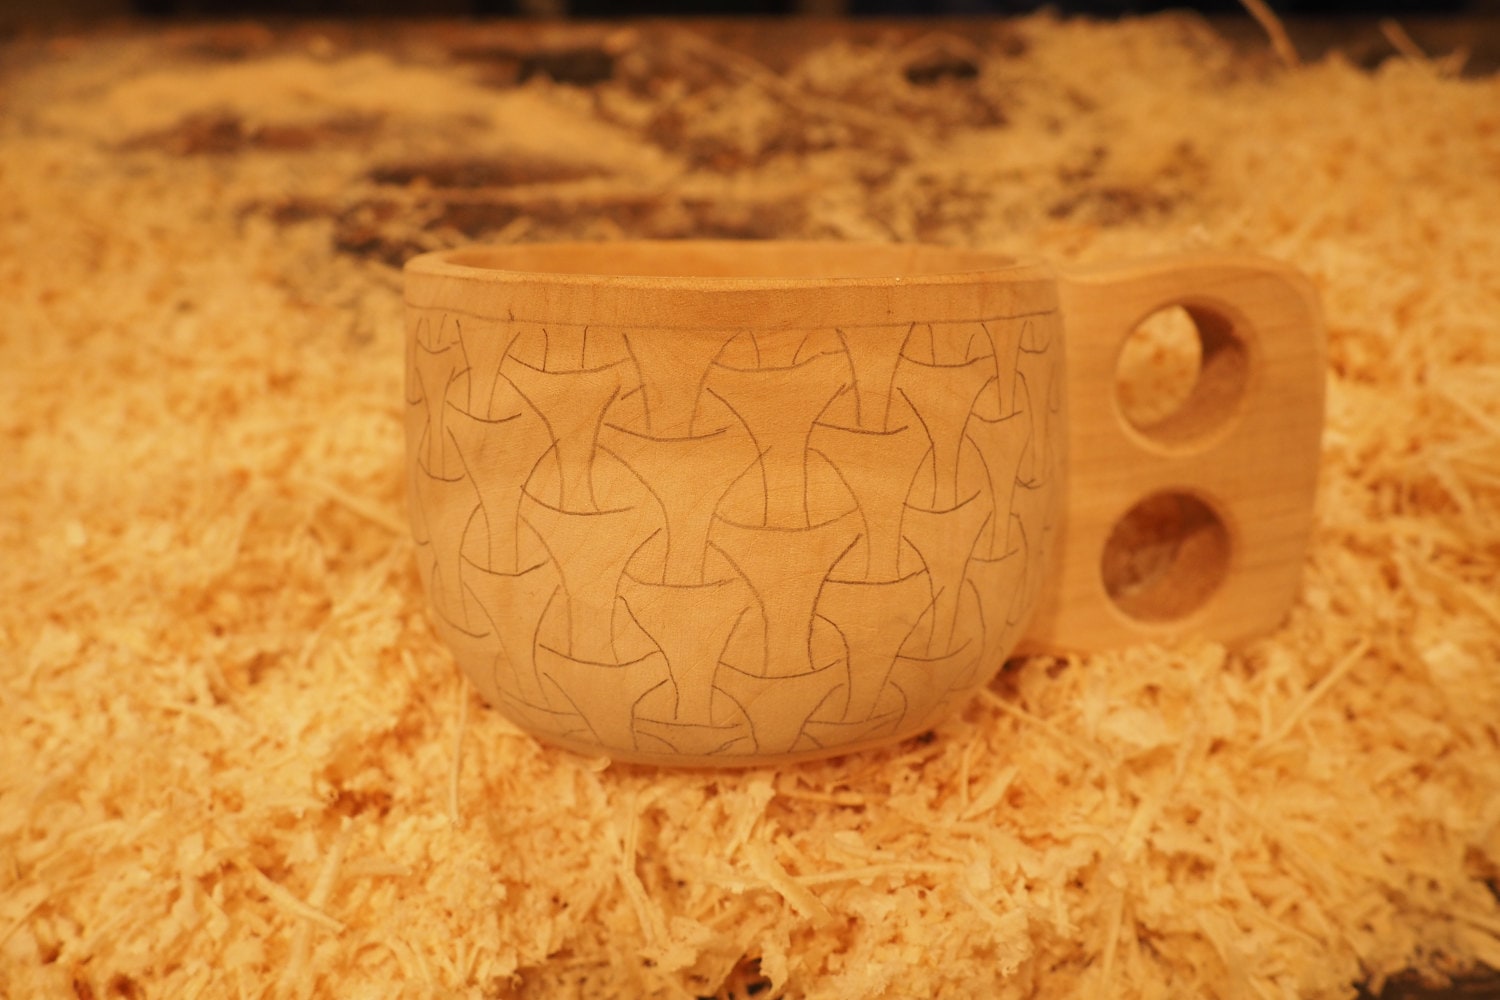
Finished Borre pattern. Let's start carving!
6. We hand-carve the design.
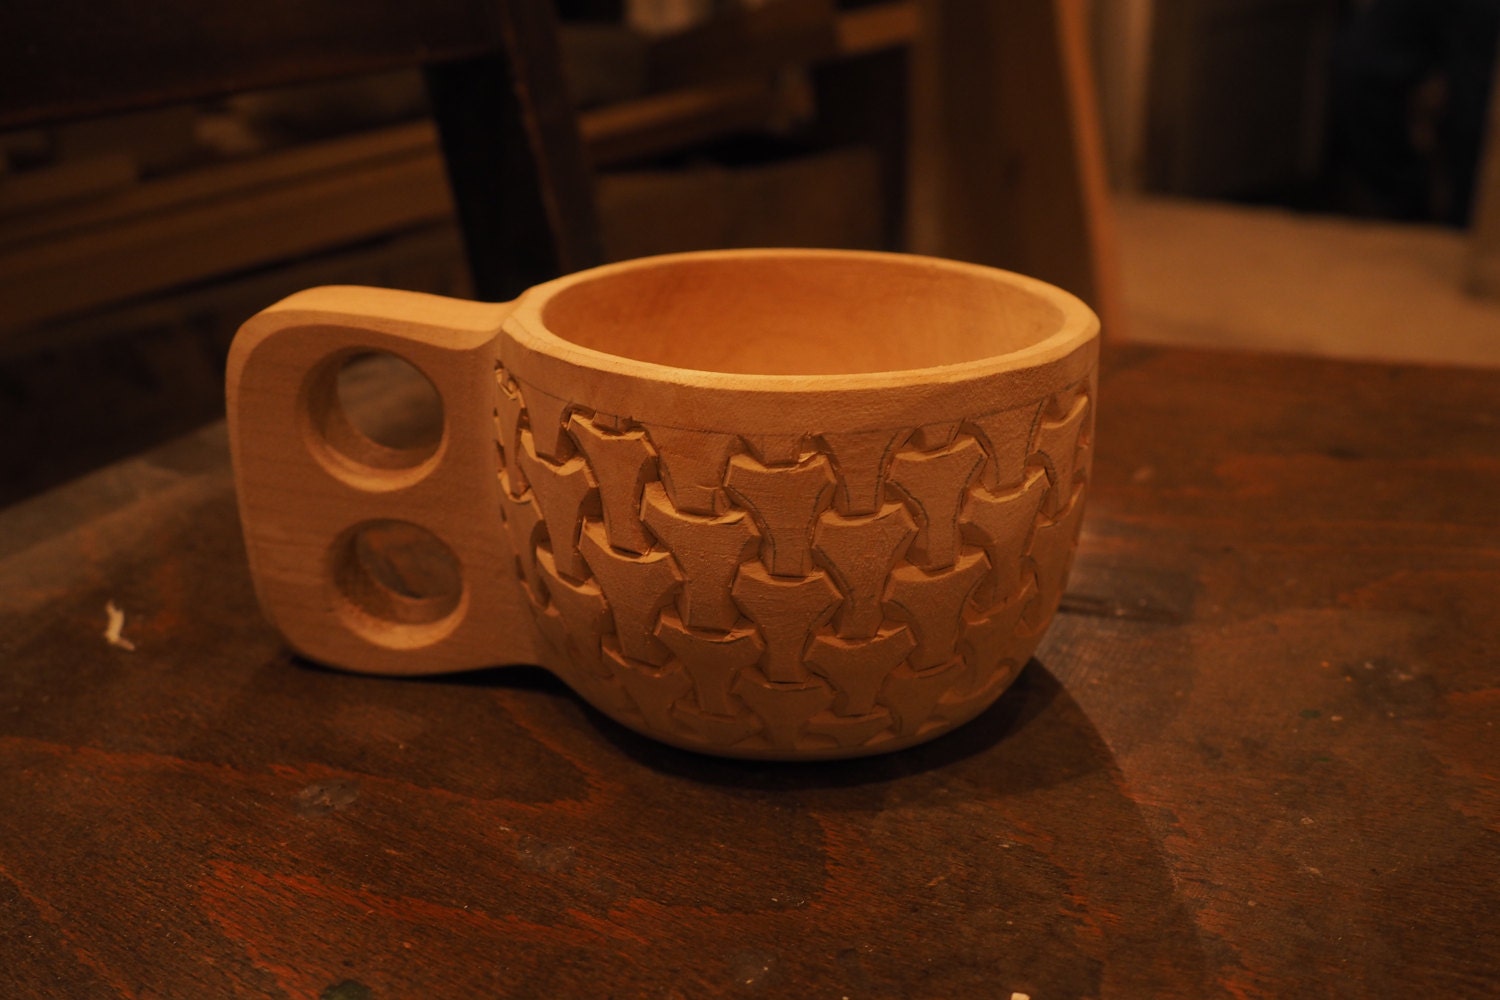
7. We stain the wood.
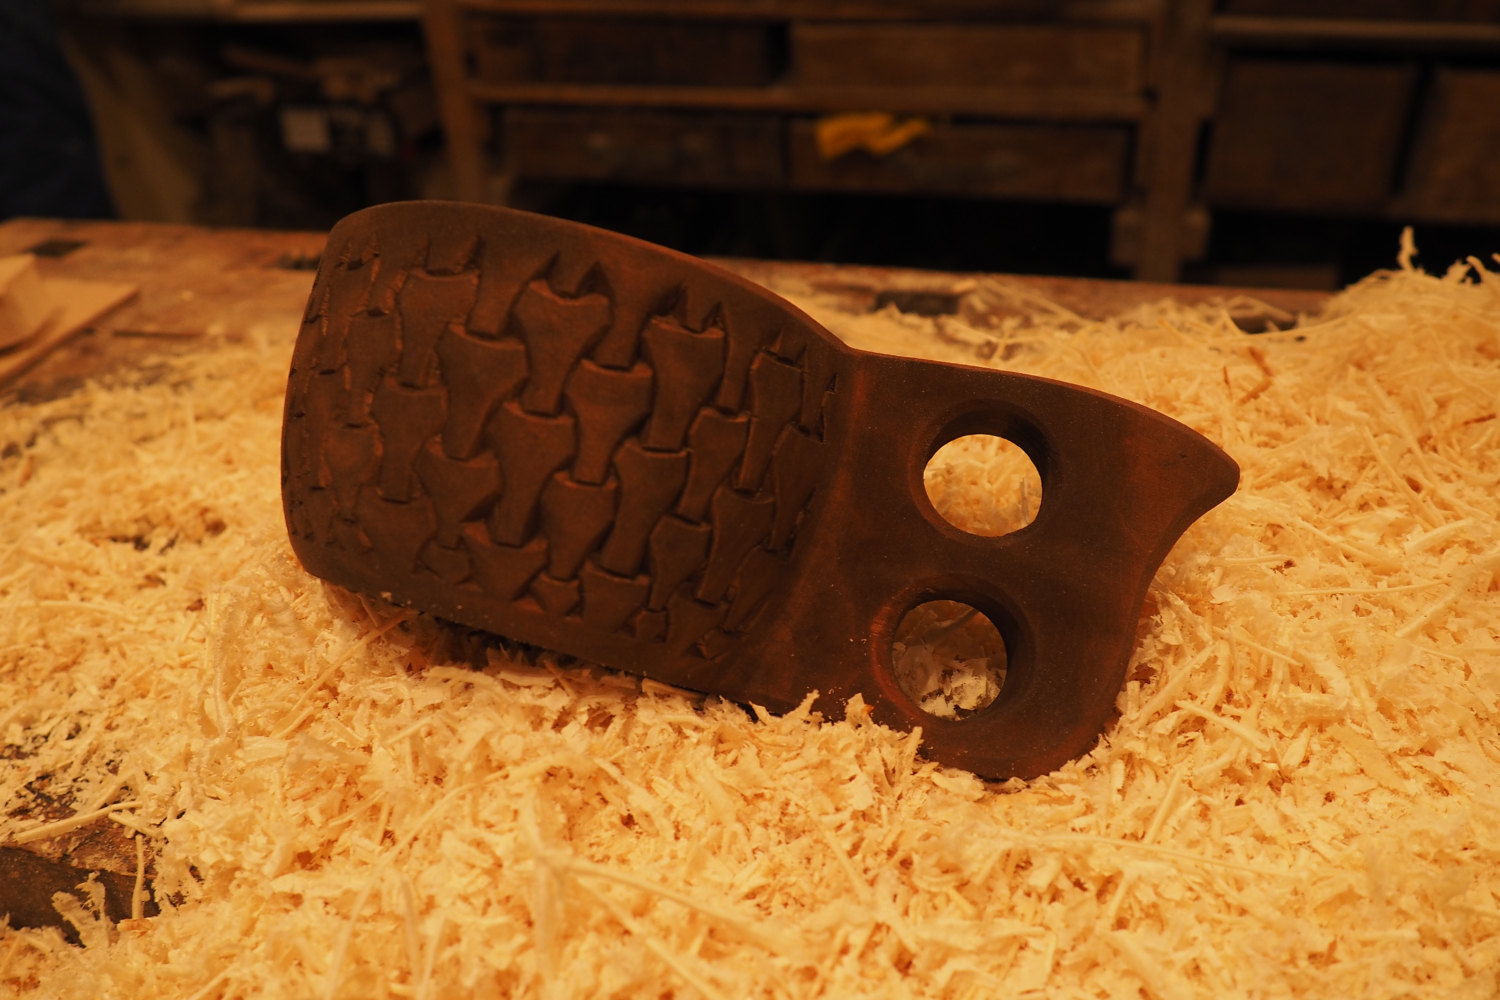
We put an eco-friendly, non-toxic stain on our cups to give them that warm, chocolate-brown color.
8. We sand the cup by hand.
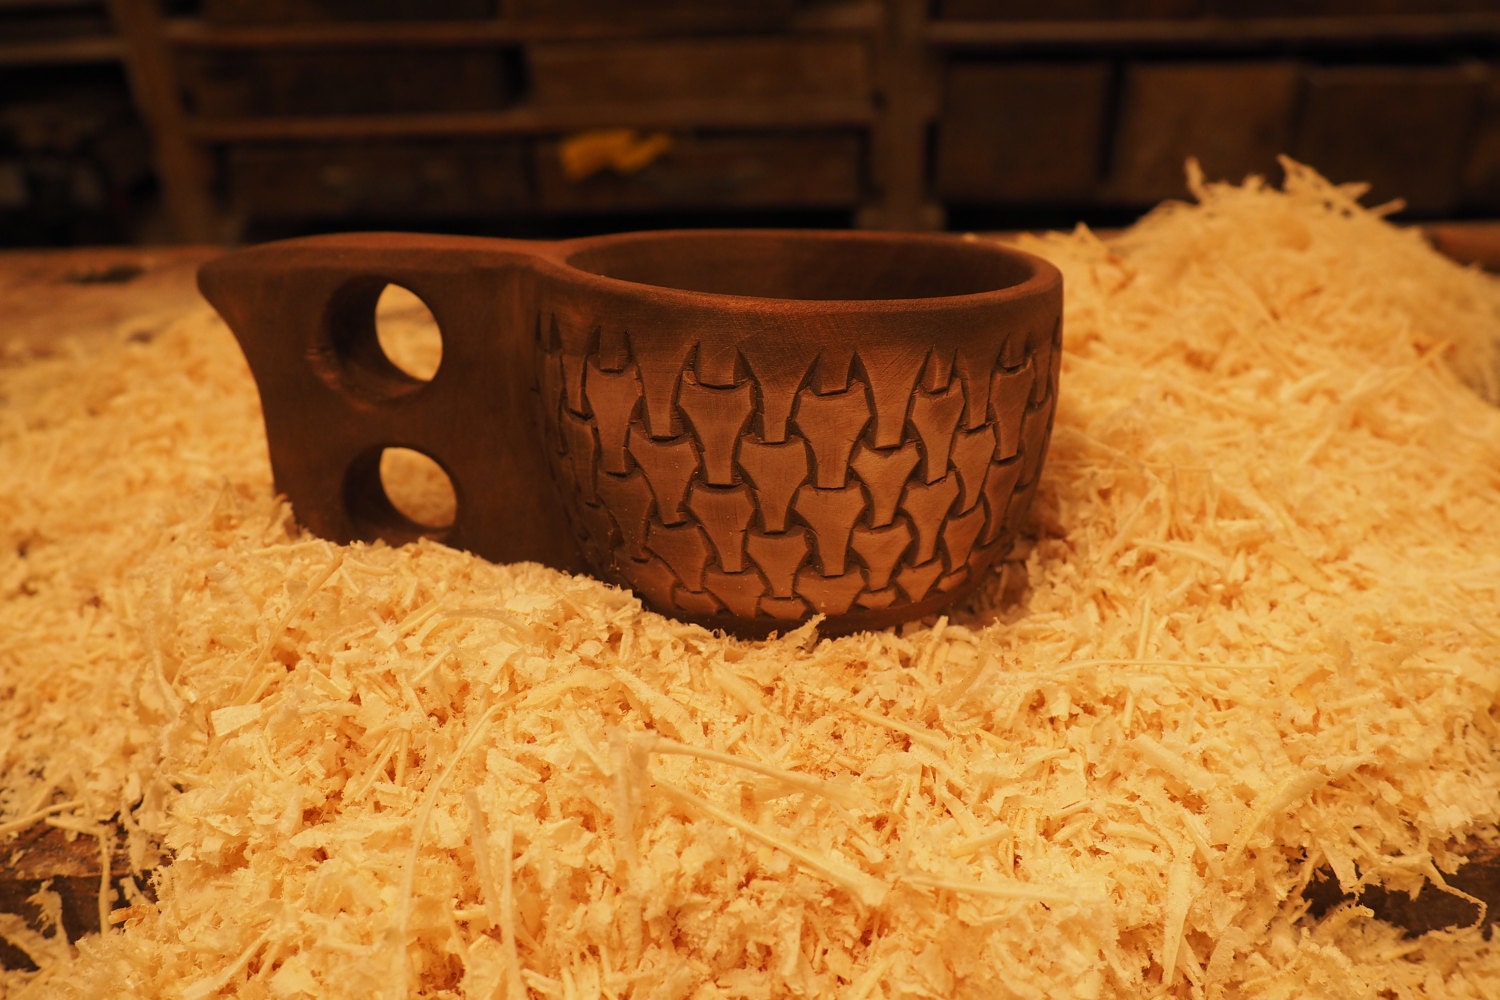
To make the design stand out we rub it with a very fine sandpaper. The idea is to make it more beautiful, not to cause splinters, so we are very careful. This part is hell on our hands - but what kind of artist doesn't suffer for their art?
9. We coat the cup in protective oils, let it absorb and stick it in a photo tent.
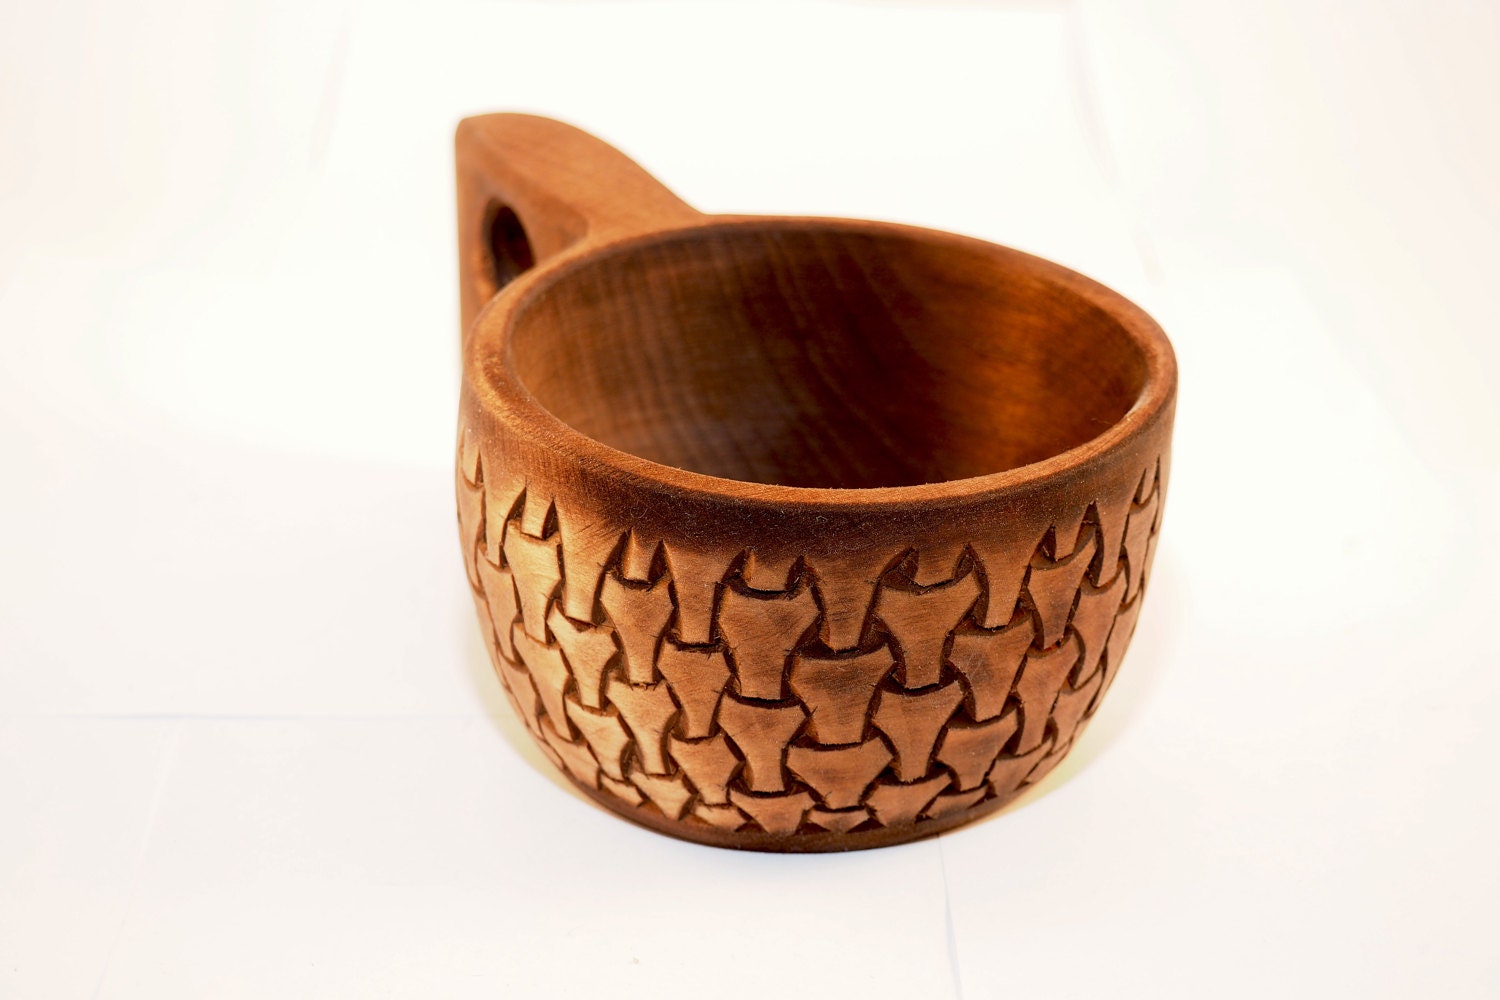
Here it is! Our cup with Borre pattern.
You can order one here: Intricately carved wooden cup - Borre style

